
SageMaker AutoML: Simplifying Data Science with Intelligent Automation

Training machine learning models can be challenging
If you are a data scientist or developer involved in the machine learning field, you’ll know that training a model from scratch can be a complex and time-consuming task. It requires a solid knowledge of underlying algorithms, statistics, and a level of programming ability, not to mention the maze of frameworks available to choose from. Ideally you would have a team of data scientists, domain experts, and software engineers to collaborate on the development and deployment of a model, but this is not always achievable, especially if you are in the early development phase of a project and need to quickly validate a concept. Here is where Amazon SageMaker’s AutoML can shine.
What is SageMaker AutoML?
SageMaker AutoML provides a low-code approach to machine learning, automating the creation, training, and deployment of models. It automatically prepares your data, selects the best algorithm and hyperparameters, and trains the model for you. You can then deploy the model, and use it to make predictions with very little intervention on your part. This empowers users with limited coding experience to build and deploy sophisticated machine learning models. It also has the benefit of democratizing the machine learning process, by way of enabling a broader range of professionals to contribute to the design of intelligent applications.
To be clear, this isn’t about devaluing the work of data scientists. AutoML can also save the time of experienced Data Scientists who just want to get a model up and running quickly. With all that time saved on the model development itself, you can focus on the more important tasks like feature engineering and data cleaning (‘trash in, trash out’, as we well know). On top of that, the option to ‘tinker under the hood’ is always available, if more optimisation is desired.
How do I Train a Model?
SageMaker Canvas Setup
There are currently two ways of running SageMaker AutoML, in SageMaker Studio, or with the newer SageMaker Canvas feature. SageMaker Studio AutoML is in the process of being deprecated, so we will focus on Canvas. The features are similar in any case, with only some UI differences.
You can set up SageMaker Canvas as follows:
- Navigate to the SageMaker service in the AWS web console
- Ensure that you are in the region you want to work in e.g.
eu-central-1, by looking in the top right-hand corner of the console. - We need to check if we have a SageMaker domain available in our account: on the left-hand panel click on
domains - If you see no default domain available, then click on
Create domain - Choose the quick setup option and wait for the domain to be created.
- Once you have a domain, click on SageMaker Canvas in the navigation panel on the left
- Click open Canvas using your new domain in the dropdown menu.
Selecting Input Data
Before we go any further, we need to have some data to work with. We will use the canvas-sample-loans-part-1.csv data for this example because it is readily available in SageMaker Canvas. However, it is easy to add your own datasets.
SageMaker AutoML supports data in CSV, JSON, or Parquet format. In our loan dataset, there is a target-variable loan_status which we want to predict. loan-status can fall into one of three categories, repaid, charged off i.e. written off as a loss, or current, that is, neither repaid or written off yet. The other columns are features that we will use to predict the target variable, these include factors such as the amount of the loan, and the interest rate to be paid.
We will access this dataset in SageMaker Canvas as follows:
On the left hand side panel, click on the
my modelsiconClick on
new modelin the top right hand corner of the screen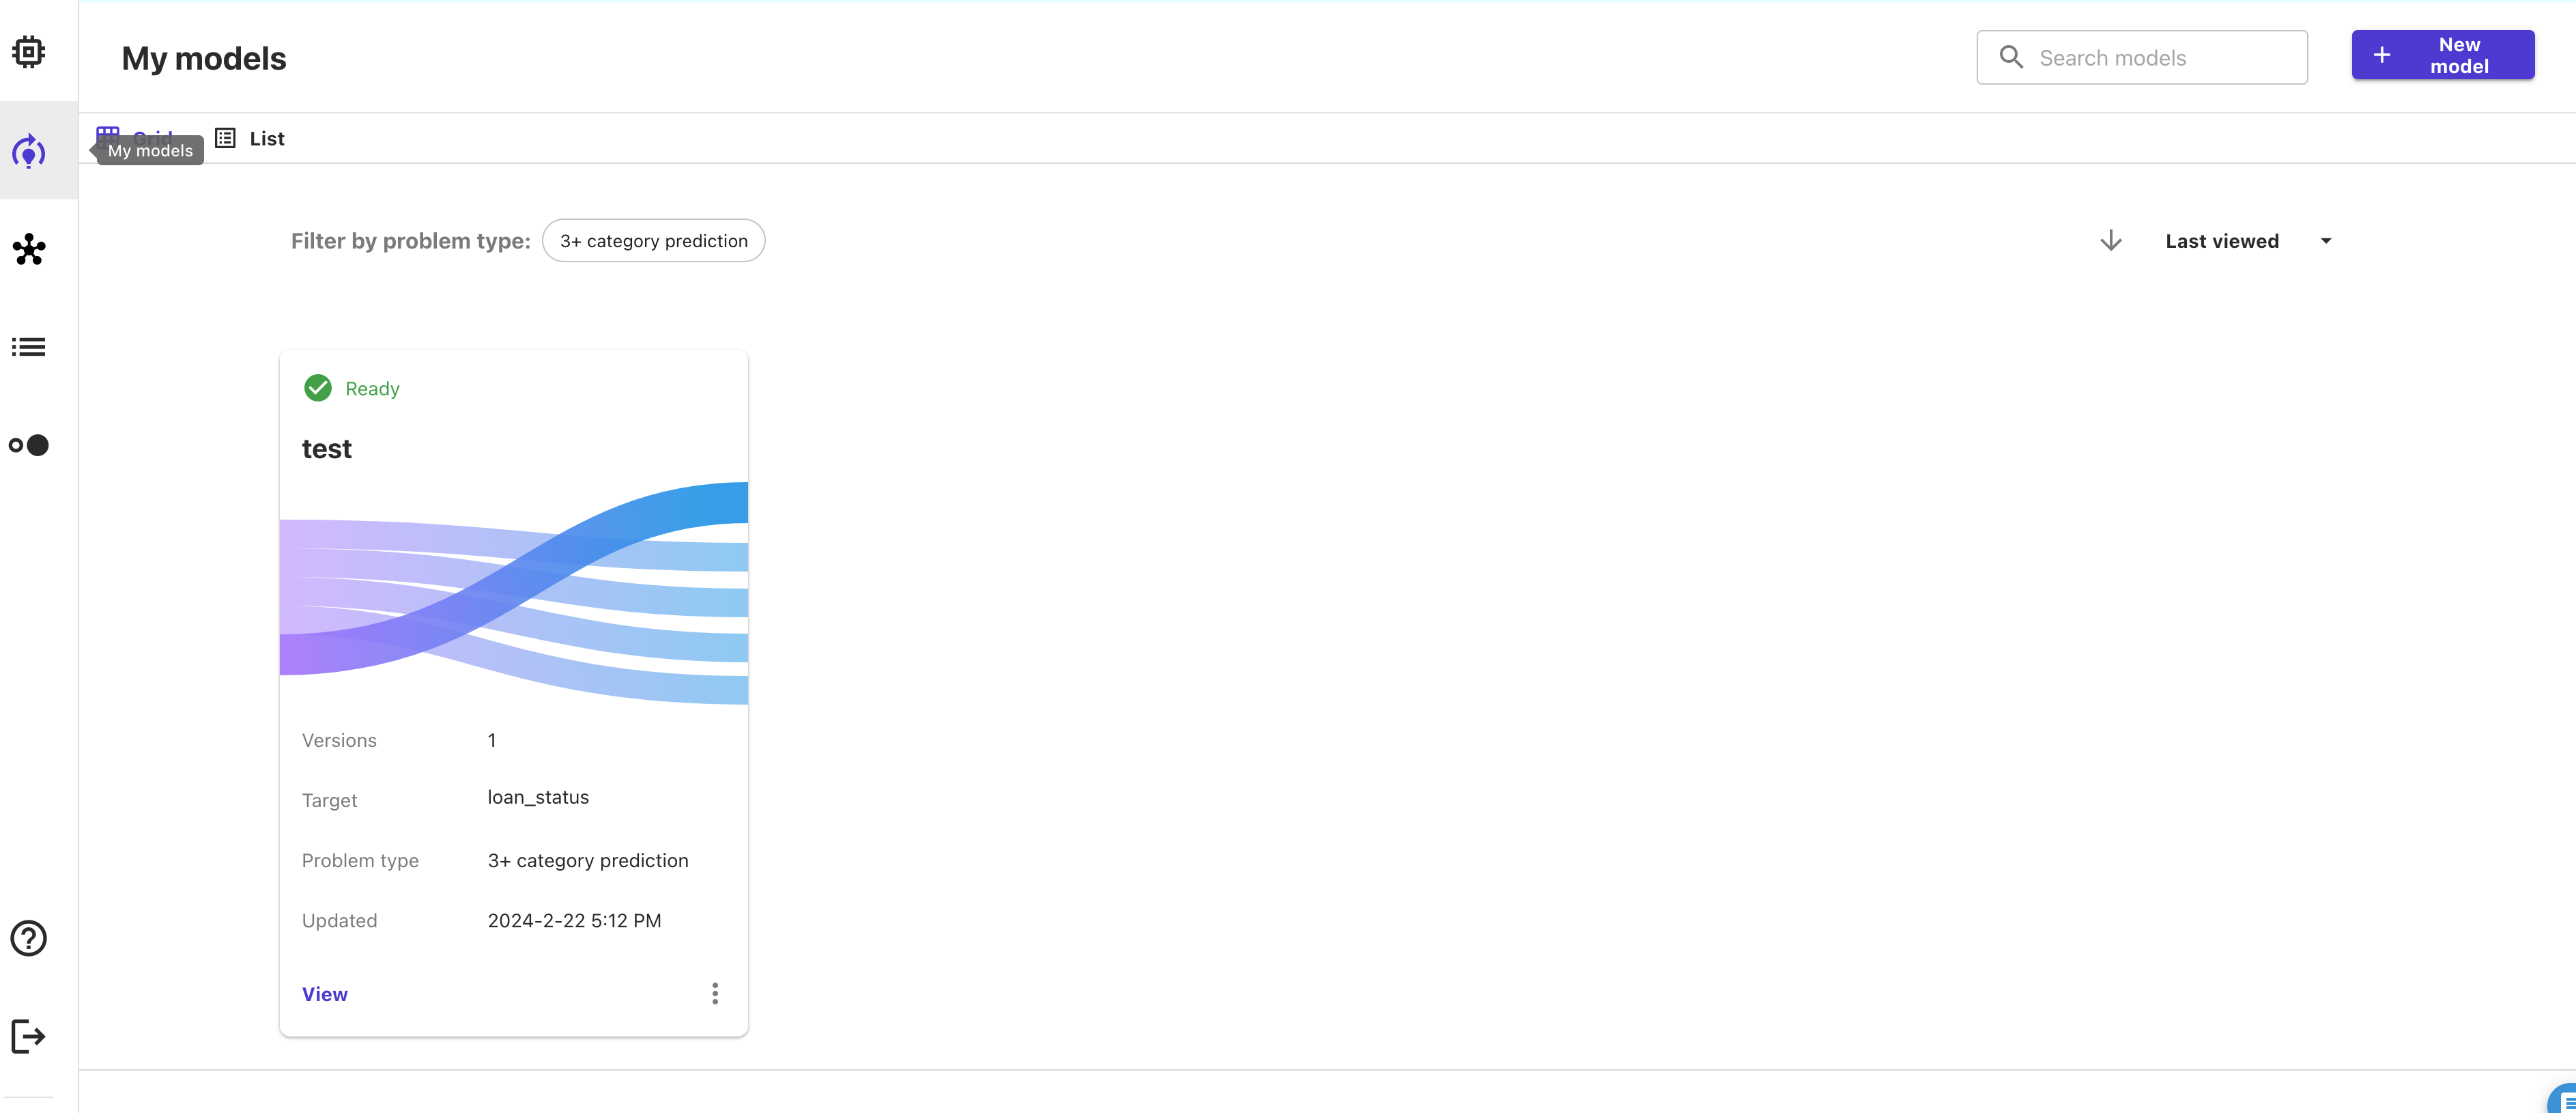
Give your model a name and select the
predictive analysisoption, because we have tabular data and want to predict a target variable.You will now see the Datasets tab. Select the
canvas-sample-loans-part-1.csvfrom the list of datasets. If you don’t have a dataset, you can also define one here. It’s a simple drag and drop process to upload data or you can use an S3 bucket.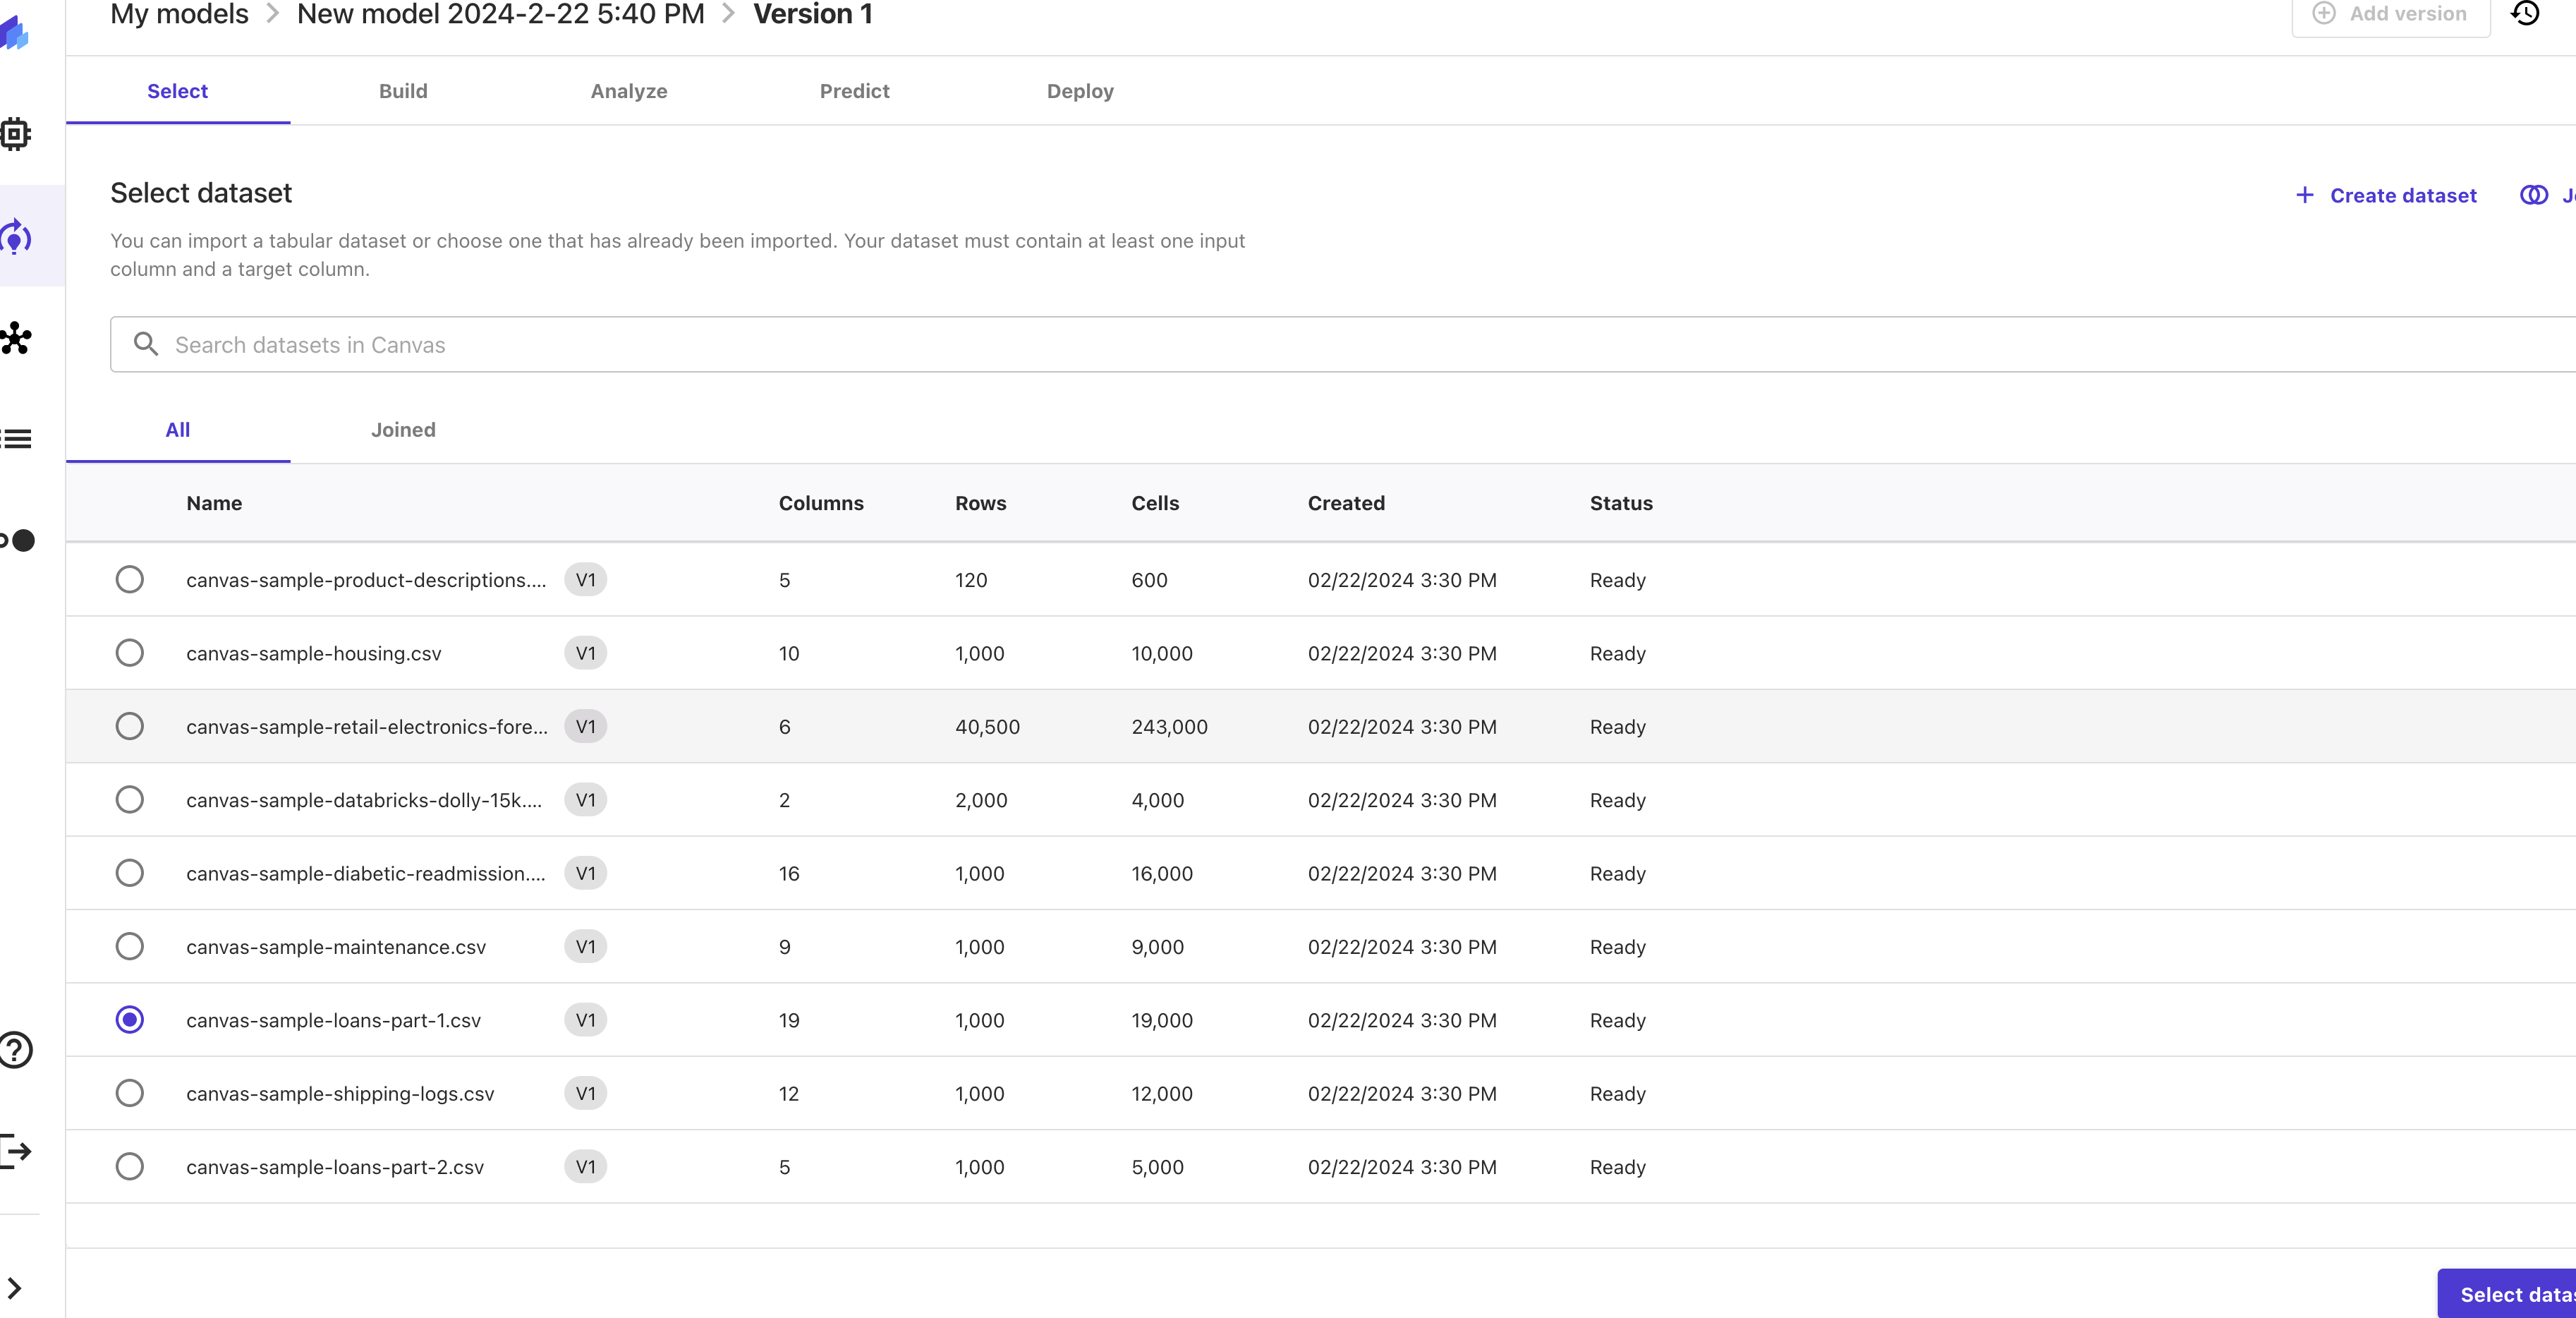
Click
Select Datasetin the lower right corner of the screen.
Setting up Model Training
Now that you have your dataset selected, you can set up the model. There is actually very little here that you need to do, since this is precisely the point of AutoML. However, you can still set some parameters if you want to.
First, you need tell your model which variable it should be predicting: in our case, this is the
loan_statuscolumn. You can select this in theSelect a column to predictsection. This is a required input.Once you have selected the target variable, there is a nice feature that allows you to see the distribution of the target variable. This is useful to see if the classes are balanced or not.
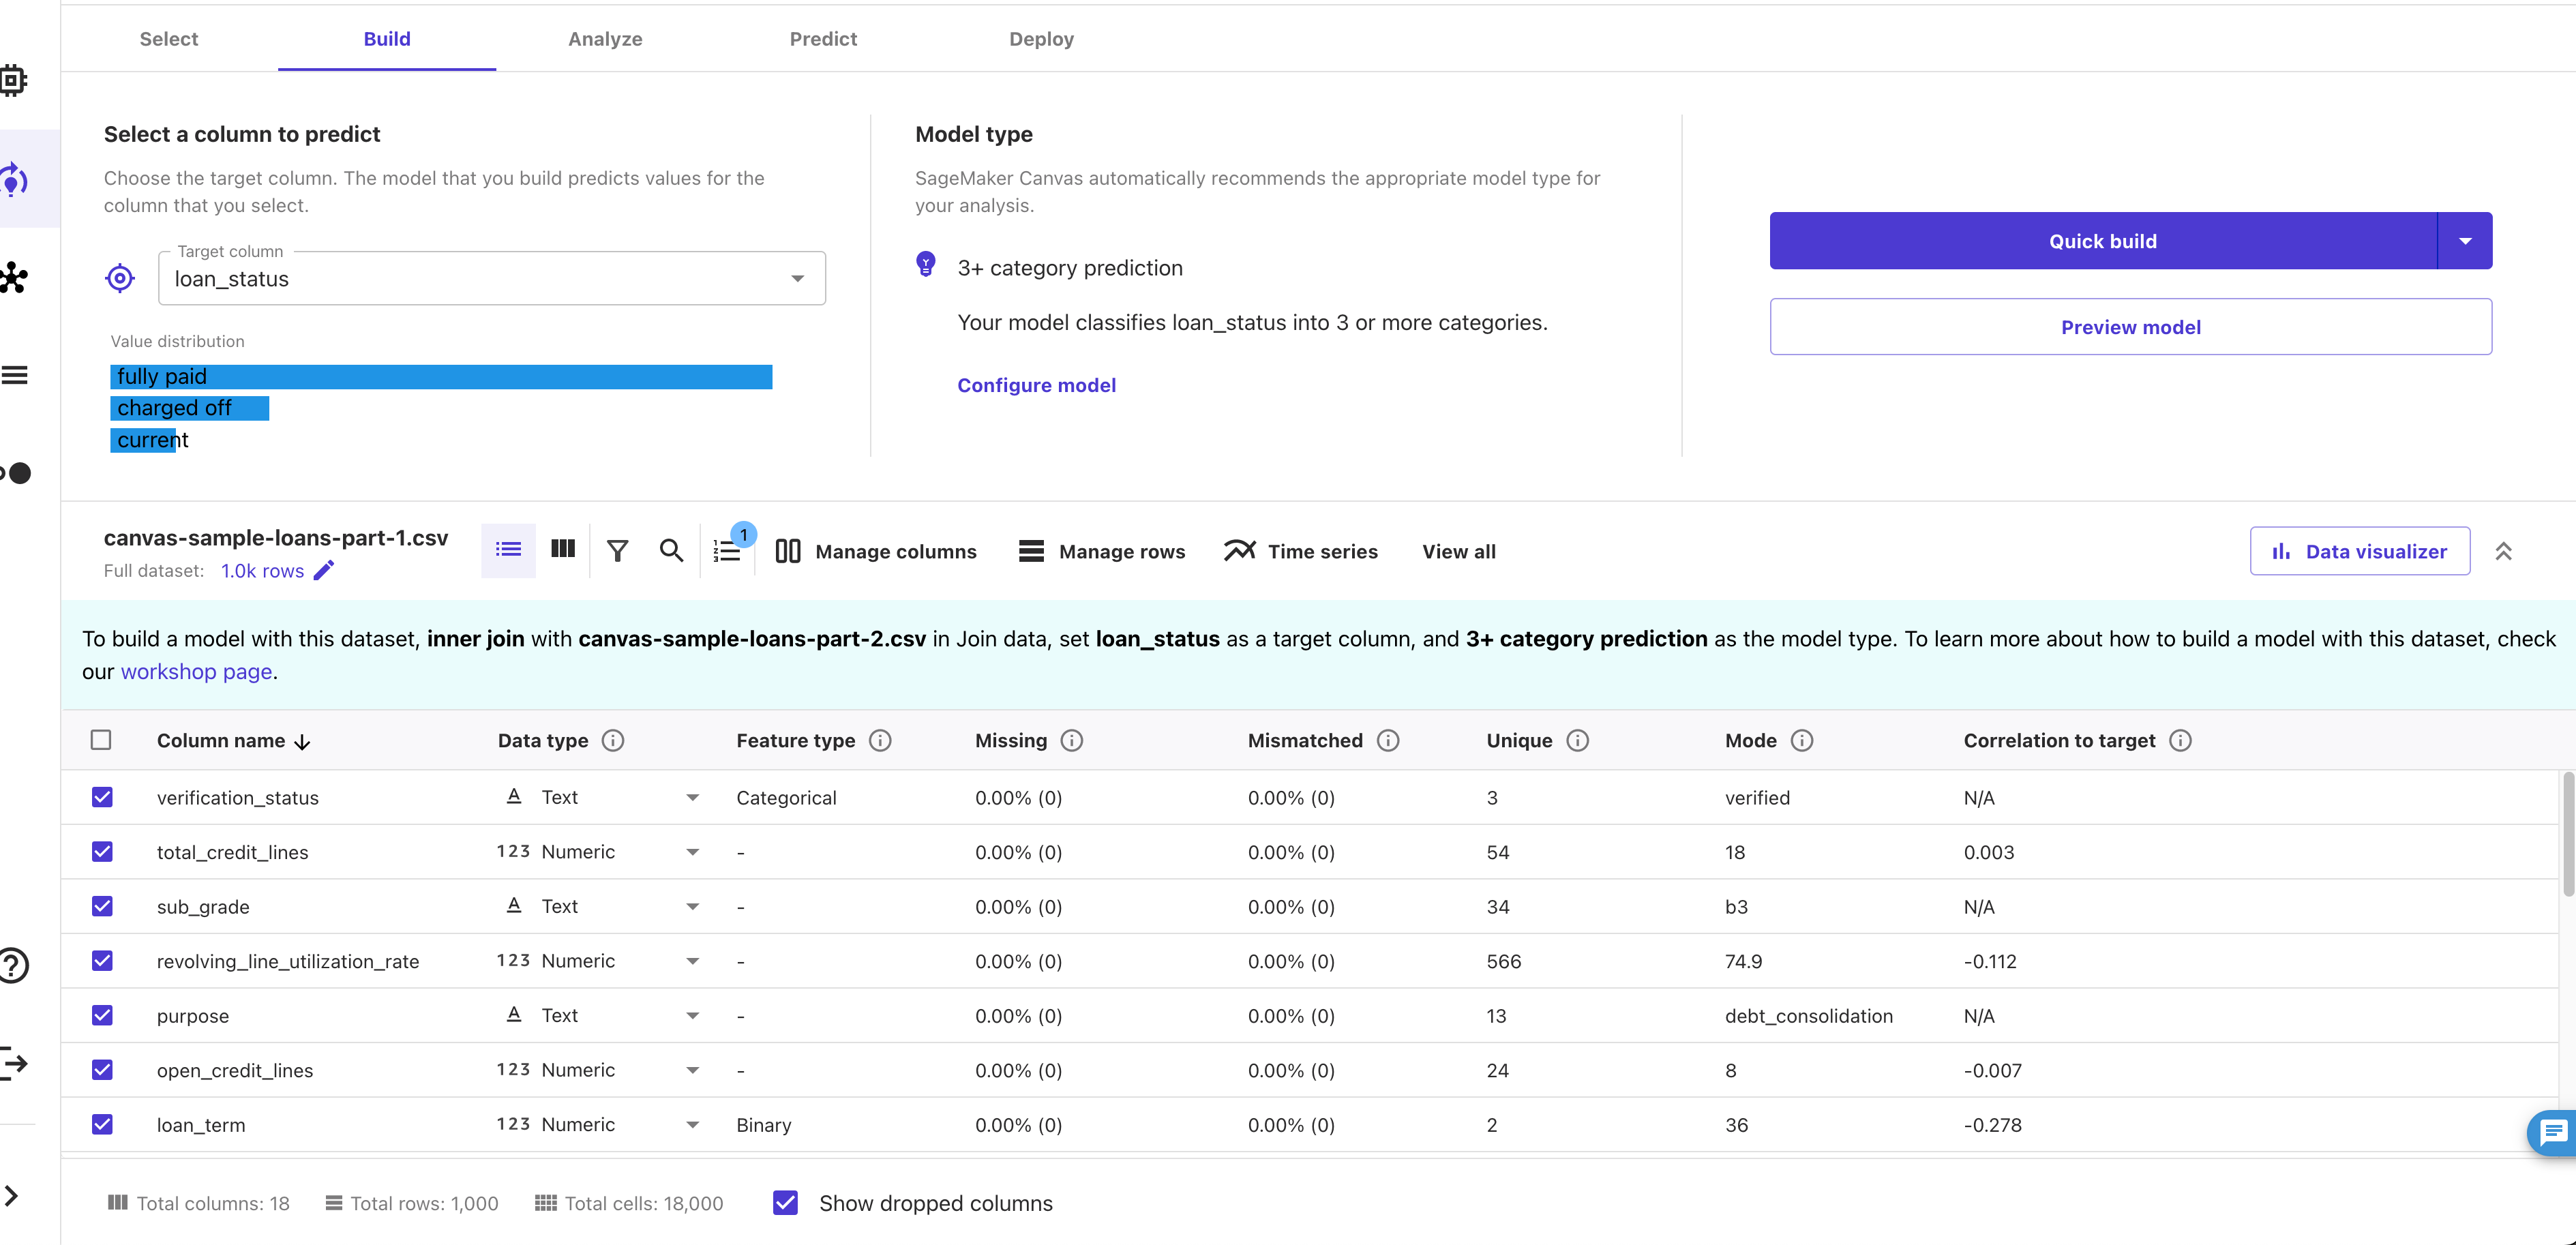
If you want to configure any other aspects of the model training you can do this in the
Model Typesection. Here there is a link toconfigure model. These advanced options offer the ability to choose the metric you train on (e.g. accuracy or F1-score), or the split of the data into training and validation sets. You can also set the maximum time the model is allowed to train for. You can explore these options if you want to.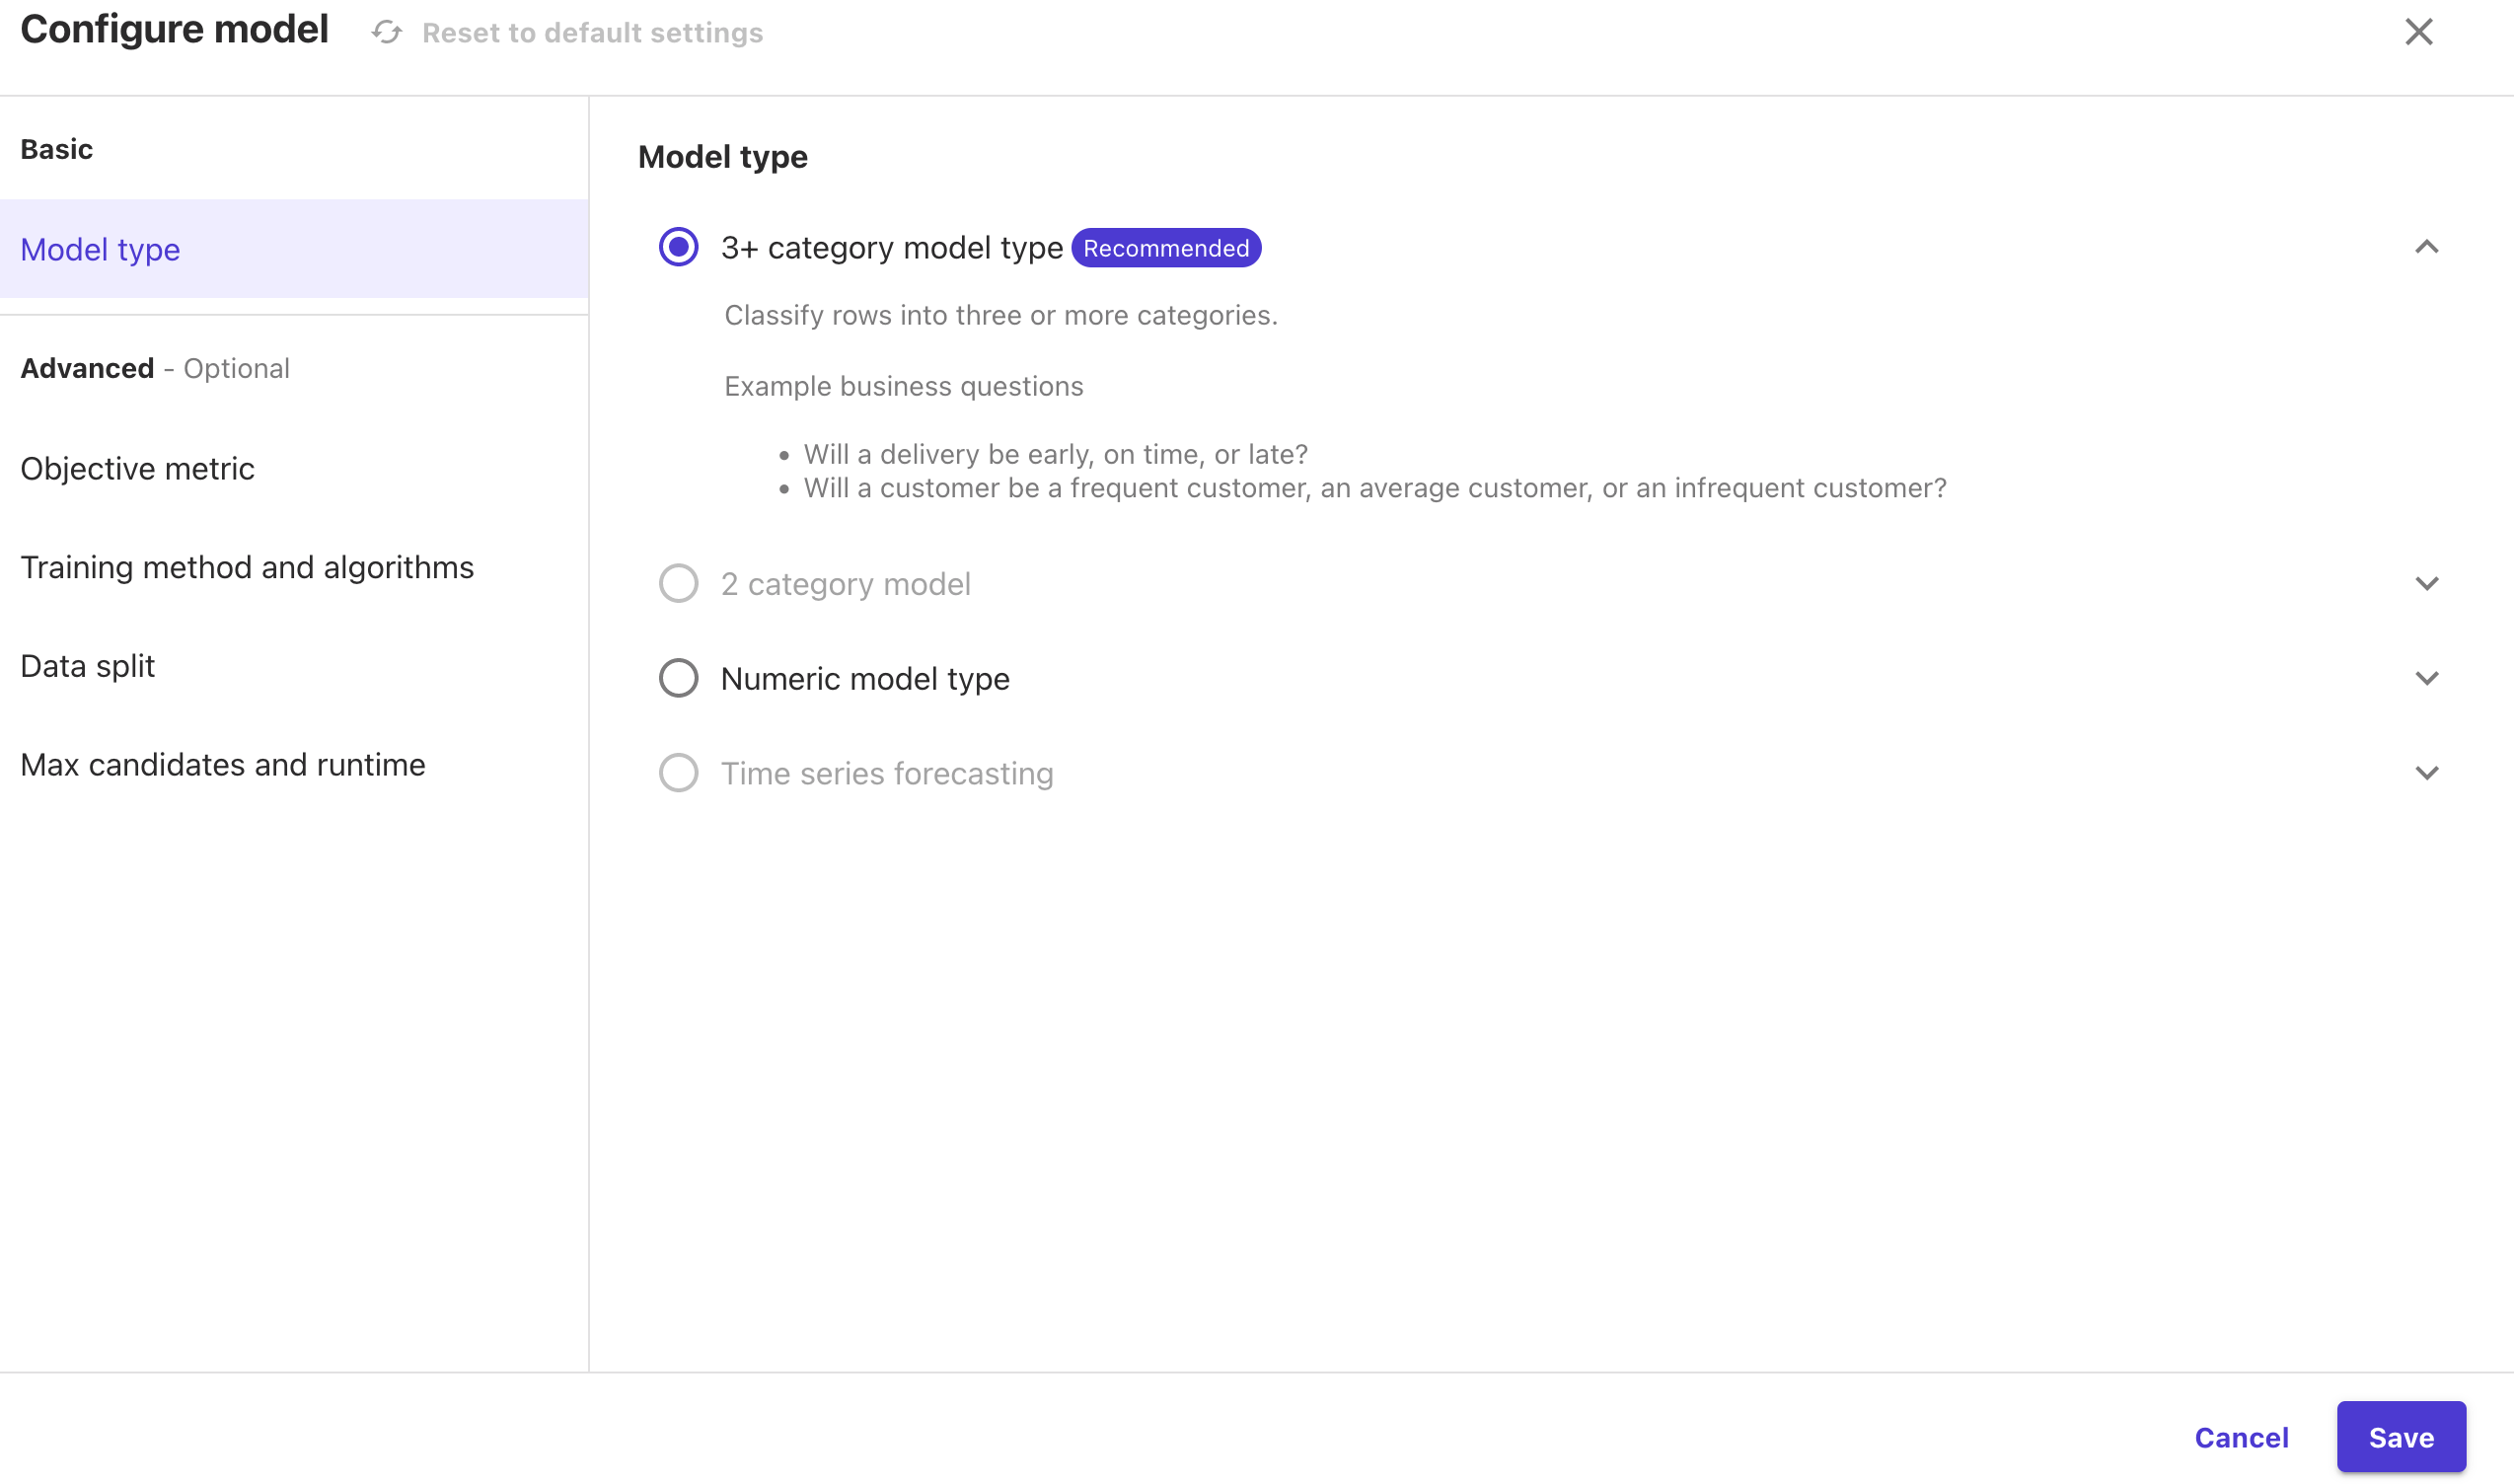
Once you are happy with the settings, click on
Quick buildon the top right hand corner of the screen.
Note: You can select the standard build option for a more accurate model, but this will take hours rather than minutes. For the purpose of exploring AutoML features, quick build should be sufficient but don’t expect a stellar model 😉
Evaluating Model Performance
Once the model is trained, you can evaluate its performance. In the analyze tab, you can see the overall score for the metric that you trained on, in our case, ‘accuracy’. You can also see the feature importance of the model, which is a measure of the extent to which each independent variable contributes to the model’s predictions. This is useful for understanding the model’s decision-making process.Since we have a classification problem, we also get a confusion matrix in the advanced metrics tab. This shows us the actual vs. predicted categorizations so that we can see where the model succesfully and unsuccessfully classifies our data.
My Model is Trained, Now What?
When your model is trained by AutoML, the model needs to be deployed so it can be used. If you selected the auto deployment feature during the AutoML configuration, a real-time inference endpoint will be deployed. If not, navigate to the model. There you have the possibility to click on the Create Deployment or Predict button for the model and select whether you want to deploy a real time endpoint or a batch prediction job.
Batch Inference
In batch inference, predictions are made in a batch fashion on a set of data. This can be useful if you only need to run predictions once for all data, or to re-infer all predictions after creating a new model. In canvas this featute can be found in the Predict tab of your model.
When deploying a batch inference job, you are asked for the following:
- the instance type and count to use for the batch prediction (data transformation) job
- the input data configuration. Input will be read from S3.
- the output location, output is written to S3
When you are done, you can create the batch transformation job. You can observe the batch inference progress in the processing jobs in the AWS Web Console.
Real-Time Inference
Real time inference is best used in applications that provide direct user feedback and hence have a crucial response time. A real time inference endpoint is deployed similarly to a batch inference job, by selecting the model from the AutoML run, and clicking on deploy in the top right corner. In contrast to the batch inference job config, you only need to specify an endpoint name and an instance type. In SageMaker studio, only provisioned endpoints are supported. If you want to deploy a serverless endpoint, you can do so by using the deployment mechanism provided by the AWS web console. Here you select a model to be deployed and click Create endpoint.
Once your endpoint deployment is finished, you can use the AWS SDK to query the model for predictions.
Conclusion
The knowledge needed to develop machine learning algorithms is very specific and mathematical. SageMaker AutoML enables users who have little experience in data engineering and machine learning to develop state of the art machine learning models. This is great news for smaller companies who may not have the resources to hire machine learning specialists or larger companies who want to free up their data scientists to work on more complex problems. A basic understanding of machine learning is still necessary to understand the model evaluation and tuning, but this is drastically reduced compared to implementing algorithms from scratch. We hope this article has given you a good starting point to explore the possibilities of SageMaker AutoML and to consider how it could be used in your own projects 😄
Other articles about SageMaker and Machine Learning
if you are interested in learning more about SageMaker and Generative AI on AWS, have a look at our other articles on the topic:
- Hosting a Text Classification AI on SageMaker
- Grounding LLMs in reality with Amazon Bedrock
- Generative AI: An overview of the landscape and what AWS has to offer

Rebecca is a Cloud Consultant at superluminar. After a career change from neuropsychology, she works in IT and is passionate about automation and data engineering. You can find her here on LinkedIn.

Robert is a Cloud Consultant at superluminar and has the AWS Certified Data Analytics Specialty. He writes here about AWS-specific topics.